Wednesday, June 13, 2012

Replacing a Lost Quilt Details

This quilt was very straight forward.

The blocks were already made and all I had to do was put them together using sashing. To prepare, I was cutting the blocks into a more uniform rectangle. This was working until I found that there were three blocks that did not want to lie flat.


No matter what I did to cut or iron it, it would not lie straight. I did not know what I would do. I was worried that if I left it the way it cut that it would not sew straight, the sashing that would not lie straight, and the quilt would have this big wave. So, I put on my thinking cap. Thinking.......

What if I basted the block to something to stabilize it? That could work. Then I can cut that down to size and sew the basting stitches inside the seam. Why not? We use muslin for all sorts of stabilization of blocks.

Perfect! I decided right away to use muslin and later (after already using muslin) thought about paper.


I basted as close to the edge and keep the sewing as straight as I could and stitched the folds in so that they would remain permanent.


Then I cut the block to size.
It worked perfectly! So, I repeated with the other two worrisome blocks.
Continued success!


I cut the rest to size and began to sew on the sashing. After sewing a couple this happened.


I sewed the sashing on backwards! I am just glad that it only happened once and in a small piece. I dislike working with the seam ripper, but who does?

Thursday, June 7, 2012

Replacing a Lost Quilt

I am putting together a quilt top for a friend of a friend. This was the original.


The tradition of this family is that when one of the women of the family has her first child all of the other women make a quilt block to be put into a quilt for that child. These quilts are family treasures.

Unfortunately this quilt was lost in a house fire. Many family members got together to replace the original blocks, and I was asked to do the honor of putting these blocks into quilt top and quilting it. Which is what I have been working on the past two weeks.

More to come...

Wednesday, June 6, 2012

maxi skirt

Maxi skirts have been fashionable recently. I knew that I wanted one but I did not want to purchase one when I could make it instead.

So, I started looking for tutorials and used a couple. These are a few that I found:

This maxi skirt tutorial is fabulous (and is the one I used for the red skirt). Another maxi skirt tutorial that is straight forward. Yet another maxi skirt tutorial that uses regular fabric instead of jersey fabric. There is even a tutorial to turn a dress into a maxi skirt. This looks so cool. I am on the look out for a dress that will work. My favorite (other than the fabulous three tired skirt) is this maxi yoga skirt (this is the tutorial I used to make the grey and blue polka dot skirts).


Here are a couple of things that I learned making these skirts:
Definitely use a ball point needle on jersey fabric. I skipped this at first and my stitches were skipping also.
Do NOT cut the bottom of your fabric and hem it before washing. You will REGRET it. I do!

Jersey does not ravel, so when you have it all finished (except the length) throw it in the washer and dry it. If you  are still worried serge or zigzag the edge before washing it. Then cut or sew it to length. With the red skirt I just turned up the edge about a quarter of an inch and sewed the hem. I got lucky with that one. The grey one is the one that I have regrets with. I think I may shorten it a few inches and then hem it again.


Now I just need to finish the other two. Hopefully I can find a tutorial that adds pockets.


Thursday, May 31, 2012

May Small Project Wrap up.

I will go into detail later. For now I want to get this post up before May is over.
I finished three skirts!

I still have two more that I want to make, but they will have to wait until June err tomorrow.

I did not finish the tree skirt. BUT I did work on it, which is more than I have done in months *cough* years. I hope to get it finished in June, and then I will have a big reveal.
Baby sheet? I guess it is going to the June list also.

How did you do?

Monday, May 28, 2012

New Stack of T-shirts Coming Together

This is what I have so far with the new stack for the newest T-shirt quilt.


It will not take much more to have this quilt top finished. I will definitely keep you informed on how this is turning out, but right now it is looking great.

Saturday, May 26, 2012

More Baby Blankets

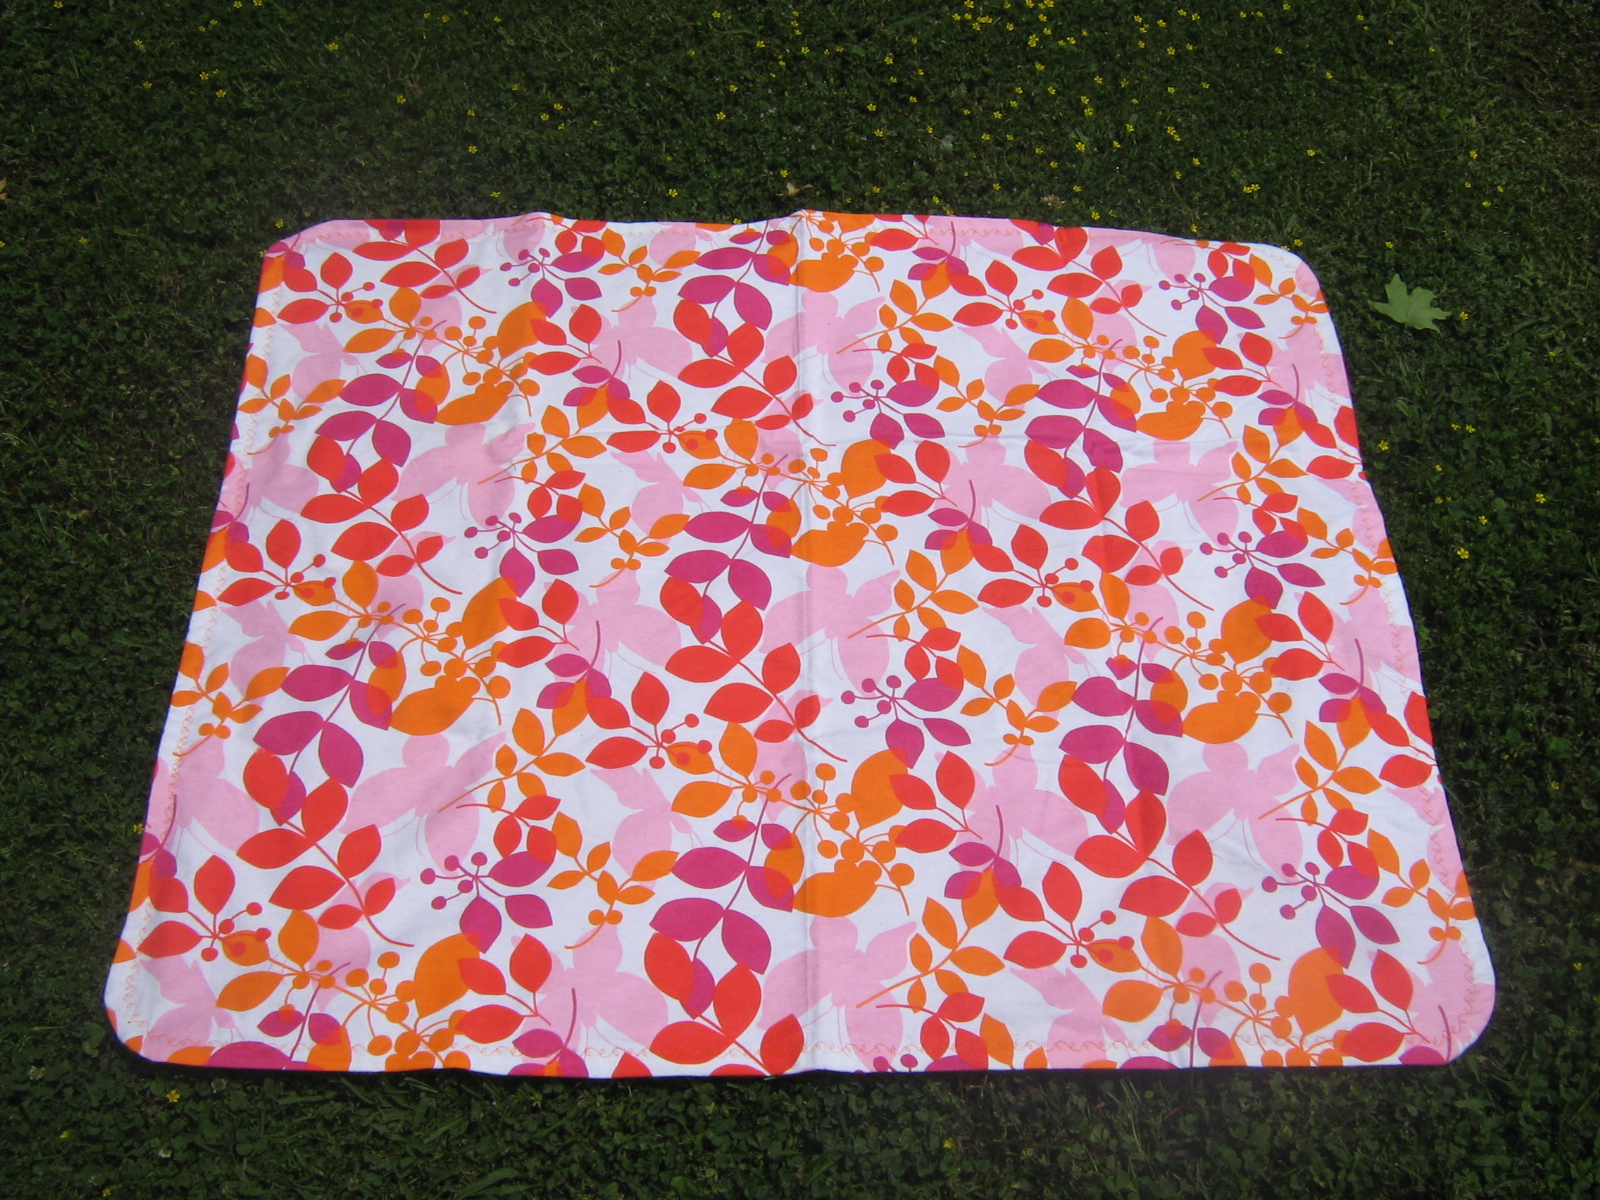
I finished the final three baby blankets for the month of May.


I had fun making these.


This monkey blanket is for a friend who is having a girl. The theme is: monkeys and pink. I may make her another on of these with pink on the back instead of pink dots. You can always use more blankets, right?


This blanket does not have an intended recipient. I plan on putting it on my new etsy shop. This is the first item to go in this shop.


This is the third blanket. I made it in a hurry. I wanted to show you what it looks like when you pull the blanket through the opening so, I took this picture for that. Then I finished the blanket, and since I was already thirty minutes late for the baby shower I bagged it; forgetting to take a picture.

I am happy to report that she LOVED it.


While I am showing you pictures that may help you make your own, here is a picture of how I close the opening. I use a slip stitch with a needle and thread by hand. I go in one side a stitch then the next side and pull closed. Then tie it off and pull the thread into the fold and clip. You really do not see the stitches when you are finished and looks good.

Saturday, May 19, 2012

Kindle Cover

Still working on May small projects.

This was made for my manager who received from her daughter (you will never guess) a Kindle (you got it; you are amazing) for her birthday.

She was so super excited to get it and talked about it at work. She said that she was doing so much with it and carrying it around with her almost everywhere and that she was worried about getting it scratched.

You know how it goes. You hear something like this and before you think you say "I'll make you a cover!"

So, I did AND... it was super easy AND gratifying.

She said she wanted it to be purple. Well, I had left over purple fabric WITH batting already in place from this project (it was the backing fabric). I matched up some other purple fabric and a button and we were in business.


I started to quilt the fabric and the batting. This was so much fun. The straight lines were easy to make on a small project like this. I did not have to rearrange the bulk fabric that I have with a quilt; making the lines almost perfect!

I turned the fabric right sides together and sewed the side and bottom closed.


I took my inside piece and sewed the side and bottom closed leaving a small gap (about two inches) open. Just like making a pillow or one of my baby blankets, we will be turning this inside out through the hole.


I made a button loop. I cut a strip of fabric two inches wide by ? inches long (I do not remember how long it was. I trimmed it off later, after I made sure it would fit over the button). I folded it half then ironed.


Then folded the halves in half and ironed. Then re-ironed the original fold so that the raw edges were inside and sewed the edge closed (no picture of that *sad face). Whew, I hope all of that made sense.


Here is where I trimmed the excess off of the button loop. I just eye-balled the needed amount of loop and pinned each side to the center of the cover. Then I slipped the inside over the outside making sure that the loop was also slipped in, right sides together and sewed the top (are you with me?).


Then I turned it inside out using that little hole at the bottom of the inside fabric then sewed that hole closed. Wow, my picture taking of the steps started to slack here. I must remember to have a talk with the photographer, he he.


Then you just tuck the inside in. See how the button loop just pops out without extra sewing!

Almost finished!


At this point you can just sew the button on and be finished with it OR you can sew around the outside of the top to tack it down.
I tried to do that, but the sewing was not even. So, I torn the sewing out and just put the button on. That way if she wants the inside to be the outside she can turn it inside out and reposition the button. I doubt that she will do that, but she can.

I wanted to get a picture of this with the Kindle in it, but I did not have my camera OR my phone with me when we tried it out, but it fit so great.

I really enjoyed making this. It took so little time to make it.

I have enough of this fabric left to make another one of these. Maybe I should make one for me. Then I would have an excuse to get a Kindle.

Friday, May 18, 2012

Baby Blanket

For all of the babies that have received sheets from me, I have also made baby blankets. I did not take any pictures of either. My picture taking has slacked lately! BUT since I am making more blankets (and sheets) I decided to make this tutorial and TAKE PICTURES of the process.

How do I make these blankets? Well, it is much like making a pillow...

I get a total of two yards of flannel. I say total because you can use the same or different fabric for the front and the back. I have done both.

Place right sides together.

Fold in half. Fold in half again (it is now folded into quarters).
folded into quarters.
Square up all sides. At this point you can leave the corner squared or you can curve it. As you can see I usually curve it use a salad plate as a template.


plate intention
Open up the folds and sew all the way around the outside leaving a four to five inch space that you do not sew closed. You can use a 1/2 inch or 1/4 inch seam. I have used both.

space left unsewn to turn inside out

It is your chose to clip the curved corners (I find that they smooth out better) just make sure you do not cut the thread. Been there done that. Then you have to resew the cut section.

notches-these could be neater and prettyier, but who is going to see it?
Reach into the opening and pull the blanket inside out. Then sew the section closed. I find that if you press the blanket (you press the blanket before finishing might as well save yourself some time and frustration) that it is easier to sew. You can sew this closed on the top of the blanket or by blind stitch. I have done both.

You want me to stick my hand where?
I wish I had taken a picture of pulling the blanket through the hole, but you can use your imagination for that.
The final step is to press the edge and then sew around the outside. I have been experimenting with the different decorative stitches on my machine for this, but it can be a straight stitch.


I chose the leaf pattern on my machine. Fits don't you think?
There you have it. A blanket for a baby. For me many blankets for many babies. I do love making these! They are so fast.

Like I said, it is much like making a pillow. The difference is stuffing. Pillows are stuffed and this is not. Top stitch if you like or don't. That part is optional.

May small project list down by one.

Wednesday, May 2, 2012

May small projects list

I have been avoiding away from my blog for several reasons. One is that I was waiting to understand the new blogger setup. Still working on that. Two my husband's family is experiencing extreme sadness, which I may or may not discuss tell you about.


Say thanks to Crazy Mom Quilts for the idea to have a small project sew along and the reason for this post. Amanda Jean has a list of twenty things to do.

Me, not so many.

I think I may add to it later but for now:
1. finish blue jean tree skirt
2. baby blankets (4) (3) I finished all three in one weekend
3. skirts (5) (2)
4. Kindle cover
5. baby sheet

I have a list of not so small projects. You will see what comes of that, hopefully. So, here is to May and the completion of some small projects.


Monday, April 16, 2012

Graduation Pictures!

Graduation pictures as promised.

These were taken by my friend. She does not live close to me, so I did not know that she was having a hard time which makes me sad. Anyways she sent me these pictures the other day, so here they are.


On my way to the stage.


Hi there!


Getting my diploma cover and telling Dr. Glenn "Thank you, and I will!" Dr. Glenn says to every graduate "Congratulations!" and "Do good work."


He got an unexpected hug from me here. I thought it was great!


The happy/I just graduated dance.


YESSSSS! Hahaha...


I got my diploma that day too. I just had to pick it up after the ceremony. It is in the white envelope.

There you have it. I graduated. I am still waiting for my certification from the state. It should be here any day. Hopefully this fall I will be teaching. Let the good times start!