Showing posts with label t-shirt. Show all posts

Monday, March 2, 2015

T-shirt Memory Quilt HJ

*long post
 
I was asked by a friend to make a quilt out the t-shirts, jerseys, sweatshirt, and bandana that were her sons. She lost her son several years ago and had saved these shirts hoping to have them turned into a quilt one day. 
 
 
I, of course, was more than happy to make the quilt for her.
 
Like most t-shirt quilt there were a few challenges. She told me what she wanted from the shirts and I tried to make as much of that happen as I could. I thought I might share some of the challenges I worked through in this quilt so that it might help some of you.
 
 
This shirt was a little baseball shirt from when he was a child. It had his number on the shoulder and she asked to preserve the number and to use the shirt front.
 
Normally when I work on a t-shirt quilt I cut off the neckline. This time with the number being so close to the neckline, shoulder, and sleeve I did not think I would have enough seam allowance if I cut around it.
 
What I decided to do was cut the shoulder seams off straight, cut the bottom of the shirt off, and glue the shoulders and neckline to the bottom of the shirt. 

 
Another challenge was using net jersey. I had never used a net jersey before. I did not want to directly put fusible interfacing on the jersey because it would fuse to the ironing board and might breakdown eventually and the batting come through.
 
I searched for answers on how to use this and found nothing! Wow!
 
I decided to glue the jersey around the edges, where it would probably be cut off, to a piece of plain fabric that matched in color. Then I ironed on the fusible to the plain fabric and put in some basting stiches. It worked great! The only thing I would have done differently is to put in more basting stiches. Net jerseys are very slippery and with the basting it made it easier to quilt.

 
There was this sweatshirt which had a front pocket. I thought it would be nice to save this pocket so that she could also put her hands in the pocket. On the bottom, the pocket was sewn into the waistband. I simply cut this off and left it alone on the bottom until it was sewed into the quilt which closed the bottom.
 

My favorite part is the little shirt he wore as a small child. She asked me to put this shirt in and I am sure that she did not think that I would put the entire shirt on the top uncut, but I thought it best to have this little shirt to show how little he was.
 
I talked with a friend who did something similar with her daughter's shirt about how she put the shirt on her quilt. She said that she cut the back off, glued it to another piece of fabric, and put a finish on the edge of the cut shirt.
 
I did something similar. I did not want to cut the back off, because I wanted to save the tag, and I did not want to somehow finish the raw edge where I hat cut the back off. Instead, I glued the back to a plain back of a different shirt and baste stitched it down. When I quilt this block, I quilted through all of the layers and broke a couple of needles. Perhaps if I do this again I will opt to cut the back off, but it worked very well this way.
 

The bandana was very easy. I treated it like a t-shirt and it worked great. It got an extra amount of quilting, which I loved.
 
Also, in the baseball jersey (in the bottom corner), I glued  a sleeve from a different shirt in the v neckline to keep the buttons, and to avoid sewing a bulky seam.  I quilted his initials there in the neck.
 
 
When I gave this quilt to my friend, she was overjoyed to have it. I was overjoyed that it brought her so much happiness.
 
 
We has fun trying to take pictures of this awesome quilt in the snow and wind. It did not work all that well, but we had fun.

 
Once again I used this black and white circle print fabric for the backing and binding. It is perfect for a quilt that is multicolored like a t-shirt quilt!
 
I enjoyed making this quilt for my friend and I know that she is greatly enjoying it.

Friday, January 16, 2015

High School T-shirt Quilt

I have been working quietly on a huge t-shirt quilt.


It is the biggest quilt that I have ever made (93"x96"). There were times when I wondered what was wrong with me; why was I making such a big quilt?


In the end, as always, there is a love for making things and the thanks and love from the recipient.


As I quilted this quilt I thought of the person that would get this quilt and all of the memories that she held in these t-shirts. I hoped for the best future for her as I worked on her pleasant past. As I thought of these things, the size was not a problem and the quilt was finished quickly. It also helped that I made a decision to quilt four blocks a day until all 49 of them where finished.


First, I quilted a straight line from top to bottom on the piecing line, then I quilted each quilt block with free-motion quilting.

These are just a few:


I wanted to have a different quilting pattern for each quilt block, but it was getting difficult. Instead I used many similar patterns but tried to make them a little different in each one.

I was able to finish this quilt just in time for Christmas. It felt really good to make a decision, set a deadline, and make it happen. It feels even better to give a gift that is loved so much.

 
So, here is a full view of the quilt top before quilting:
 
 
Forgive the office supplies in the corner. Just keeping it real.


Thursday, January 2, 2014

T-shirt Memory Quilt #2

When I made my last t-shirt quilt, I did not know that the recipient would love it so much. It was very surprising and made me so happy to know that she loves it like she does.

With her enjoyment of this quilt, she has suggested me to several people who have asked about t-shirt quilts, and this has led to me making another t-shirt quilt.

I was contacted and asked to make a quilt using not only t-shirts but hospital gowns. The lady who contacted me had recently lost her grandfather, and he was often in hospital gowns toward the end of his life, so they naturally wanted to include them.  She wanted this quilt made for her grandmother. She asked me to make it for Christmas. Since I get a, usually a two week, winter break from work, I thought I could get it completed in two weeks. I decided to go ahead and make the quilt for this family. We met and I started the quilt.

Their Christmas was moved up by four days and she asked if I could get it finished in time. I did my absolute best and finished this quilt in record time: ten days!

I stayed up late one night and quilted most of it. The next morning I finished quilting and put the binding on it just a couple of hours before their Christmas.

She thanked me and told me that her grandmother loved the quilt and that she cried and stroked it. That, to me, is the best thing a person could say about a quilt.

 
This is one of two pictures I took. I took it to help me keep the pieces in place as I sewed the top together. When I sew I move all of the pieces around and sometimes they get sewn together differently from what I intended, but I have found that if I take a picture and keep a copy (digital or paper) beside my sewing machine it does not get rearranged as I sew.
 
Although this quilt came together in ten days, it is surprisingly my best technical pieced and quilted quilt. A majority of the pieces lined up perfectly and the sparse stitch-in-the-ditch had only a couple of puckers. In the past I would not cross the stitching choosing instead to go in one direction to avoid the dreaded pucker. The quilting was almost perfect in this account. I wish I had had just a little more time to quilt a little more on it.
 
The backing is a blue on blue gingham with a small piece of Atlanta Braves fabric since the grandfather was such a big Braves fan, and the binding was a navy and white stripe. This quilt was almost perfectly square. The Braves fabric is quite hard to find and I bought the small piece the day after I picked up the shirts and gowns. I also purchased the binding and backing fabric the night after so that I could start quilting as soon as it was pieced. That makes things go much faster.
 
I finished this quilt before my winter break, which was fine because it gave me time to finish a couple of other quilts.
 
Whew, this has been a long post.


Monday, November 11, 2013

T-Shirt Finish-Army Strong

Happy Veterans Day!
 
Here in the states it is Veterans Day. It is a day that we remember and honor our veterans. In honor of Veterans Day I always thank my mom. She is my favorite veteran.
 
I have decided to name this quilt Army Strong. As previously stated this is a quilt for a veteran. Many of the shirts are from when she was in the army.
 
 
These are not the most amazing pictures. My husband snapped them quickly for me in the setting sunlight just before I headed off to make my delivery. I did not get a close up of much of the quilting, but some of my favorite is the stars underneath the flag and the bowling balls under the bowling shirt.
 
 
Here is one of me peeking over the top.


And the best shot of the back.

I am very happy to say that the recipient LOVED it. She was so happy when I got it to her. I love it when people love quilts.

Thursday, November 7, 2013

T-shirt Quilting

 
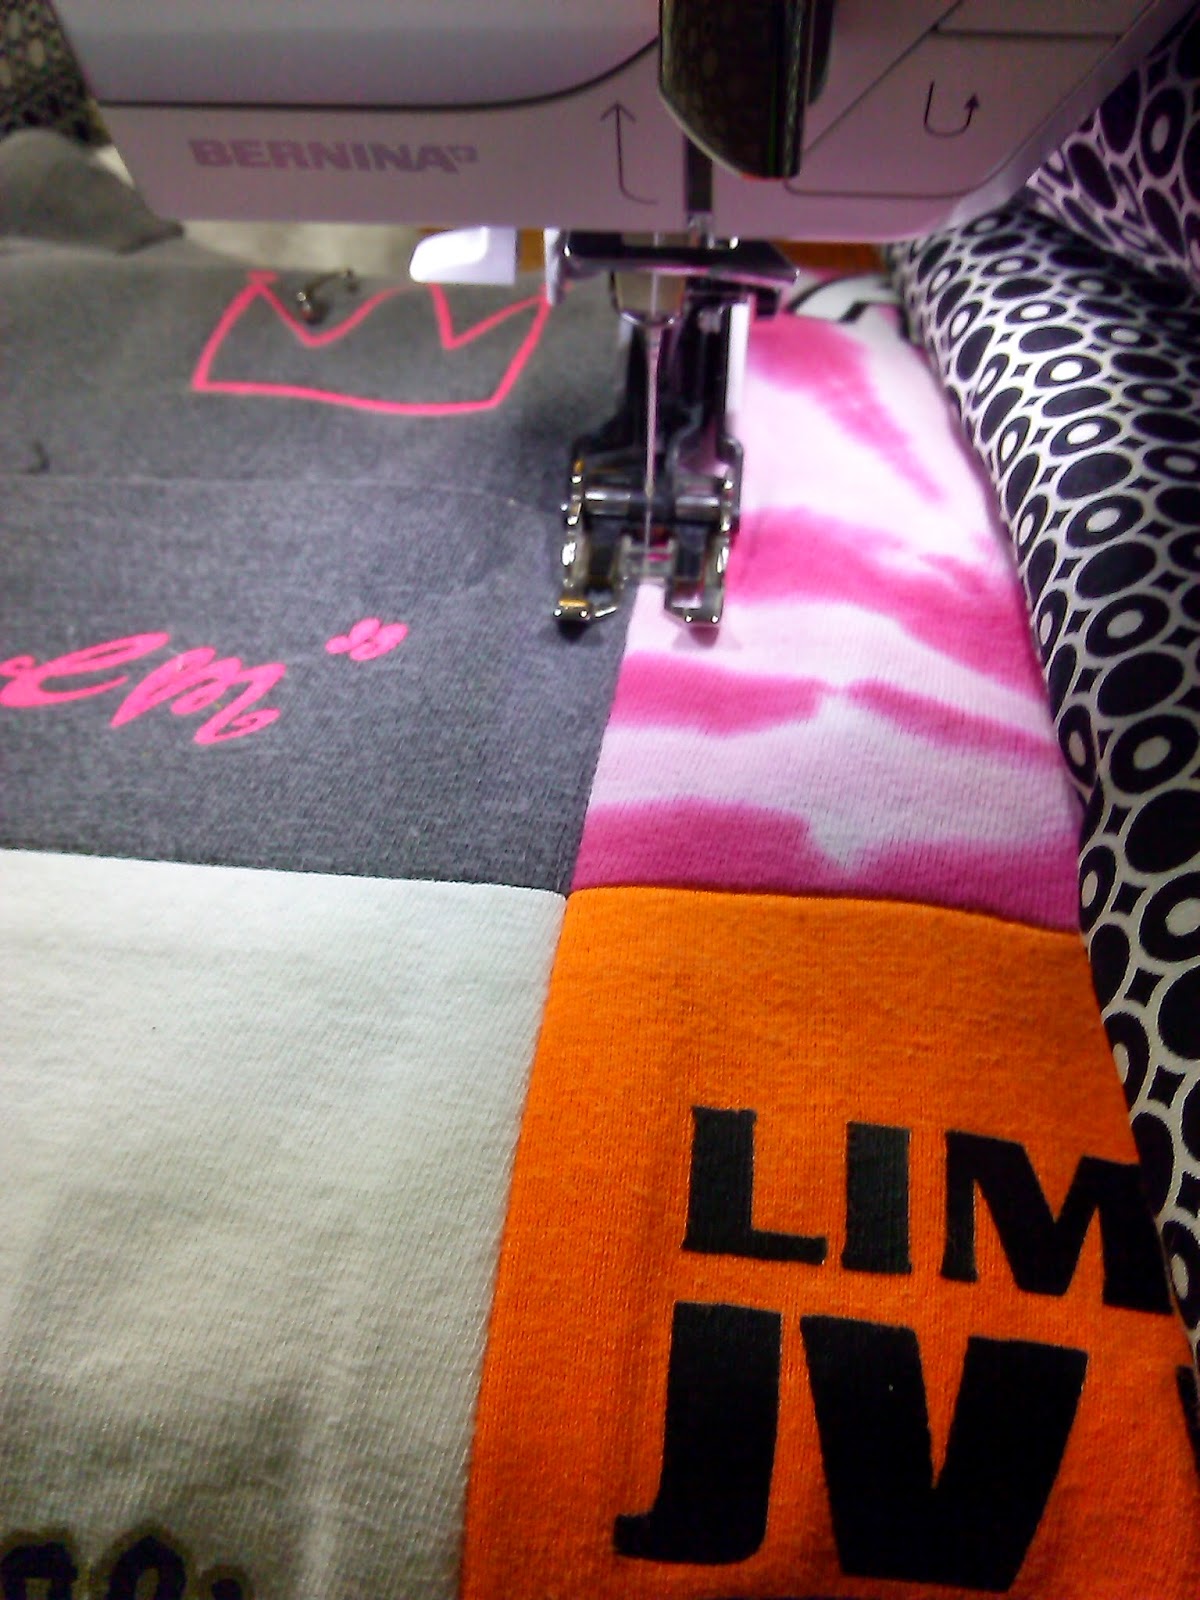
Remember when I was working on this quilt, and I said I just had enough green thread to finish the quilt? Well, I used the very last of it to quilt this block. Just look at how little is left.


This picture still has the marks before I washed them off, but don't you think that looks good for using a walking foot and not doing it free motion? I wish I was able to do it free motion. A little more about that coming soon.

 
This is the backing fabric and the binding fabric. This will have to do as a close up of both since I did not get a good shot of either before sending it off to it new home.


This quilt was made for a veteran who was an air traffic controller. The fabric has several different aircrafts. If you notice at the very top, there is an airplane dropping parachutes. I thought it was a great fabric for the theme. Also, how can you pass up red and white stripes for binding fabric.

Monday, November 4, 2013

T-Shirt Layout

After getting the T-shirts ready to sew, I tried several layouts. I wanted to have a colored square in each corner, the other colored ones in the center, to keep a front and back together, and cut as little as possible.


This is how I started. I knew that I would have a block that was pieced together using the pocket prints and prints on two sleeves. I was hoping that I could fit everything together before making this block so that I knew what size to cut the squares and what size to make the block.

 
 I rearranged and rearranged until I decided to move the other blue one and the green one. This arrangement gave me the best size without cutting to much. It was almost perfect in rows from side to side. The blocks were not all the same size in the rows so I trimmed them to be the same height. Mostly I cut from the bottom since there was empty space at the bottom of each block until they were the same height.


It gave me the size I needed for the final pieced block, which I whipped up. I also had four more squares to use and thought that the green block had the most space at he bottom and had a little unwanted look on it. This left the best place to piece the rest of the blocks.

 
Once I had it all lined up, I began sewing the rows together.

 
Then I sewed the rows together and suddenly I had a quilt top finished.
 
For me this takes a little bit of time to get the T-shirts all lined up. T-shirts have different sized prints and make different sized blocks to fit together. It is a puzzle to fit them all together. It is always my hope to fit them together without cutting too much or adding filler.
 
I love making these quilts. They are always soft and show a person's life in fabric.

Tuesday, October 29, 2013

Another T-Shirt Stack

Have you missed me? I have missed you.
I have been busy taking a couple of online classes, doing volunteer work, applying for teacher jobs, working at current job, doing domestic work, and I started working on a new t-shirt stack.

Thursday, August 16, 2012

T-shirt Memory Quilt

I finished the T-shirt quilt! I had so much fun piecing and machine quilting it.


On the border pieces I tried to change the quilting from each block and to do something special (I did not always succeed; some are the same quilting pattern). These blocks did not have a print on them, so the quilting was a little more noticeable and there was more room to be creative. Let the creative juice/ fun flow!
Does anyone else see the cat in the picture? He was such a ham!


Then this guy had to come over to see what all the excitement was about. See how the cat is all like "Nothing to see here!"


Maybe you can see the back. I just love how the thread pops! So much fun!


With all of the Alabama T-shirts, I felt that an Alabama themed binding was in order. It looks really good on this quilt!


I want to thank my mother-in-law for being my wonderful quilt model. She did a great job. Even when I was like "One more. One more. Just one more...." I think we will have to do this again. She is that good.

This quilt measured 79"x64" not a bad size at all.
Other posts are here, here, here, here, and here. Wow, I did not realize how many times I have blogged about this quilt!

Monday, August 6, 2012

T-shirt quilt update

The new tactic for quilting the T-shirt quilt is going MUCH better!

Just look as some of the quilting. This is free motion quilting. I just embraced and went with it. There is some straight line quilting, mostly to outline the blocks.

I was not enjoying free motion quilting when I started. I was pushing the pedal to the floor and trying to keep up with my hands.Then I read somewhere that there is no need to hit the pedal at full speed. We are not in a race. Sewing machines, much like a cars, have different speeds that we control through the pedal.

I had not thought about that, and it changed how I was sewing. 

"You are here" in Tuscaloosa, Alabama. Echo quilting and a little water like quilting.


Reminds me of water flowing.


I don't know how this happened. I just started sewing and my hands just moved to create it. I think it is very cute.


My husband said this looks like electric guitars. Which is what I thought. It is the same as the water above, just positioned differently.


Scallops/ shells


back of the scallops/ shells


This is what the back looks like. I would not have chosen white for the back, but I am very fond of it. It does show my mistakes, but it also shows the designs. Very dramatic.


This quilt is not far from being finished. Just a little more quilting, burying the rest of the threads, and the binding. I hope to have this finished in the next two weeks. I better get busy.