Showing posts with label finishing the unfinished. Show all posts

Friday, March 20, 2015

Finishing the Unifinished 4: part 2

Before I began quilting this quilt top, I looked how to finish a hexie quilt. I was not looking forward to binding this quilt and I was looking for tips on how to put a binding on an edging like a hexie quilt. Instead of finding how to put a binding on a hexie quilt, I found how to put a facing on one.
 
I found this blog describing how she had finished a grandmother's flower garden for a friend. She used this video as a guide to help her finish her quilt. It helped me also (a LOT). The only thing that I would change is that I would make my facing strips wider if the edge is deep. I'll try to explain what I mean a little later. 
 
 
 When you put the facing on, there is a LOT of pivoting, but it is VERY worth it! Basically sew a basting stich on the front.
 
I did not follow instructions by sewing this as a scant 1/4". I think that it would have been better to sew under the quarter inch, but I did not realize until I had finished and was not going to take it all out. Instead I left it and it worked fine. I suggest sewing less than I did, but don't stress if you do as I did. It still worked great.
 
This is a lot of sew, pivot, sew, pivot, sew, pivot...

 
...sew, pivot.
 
I did not take a picture of the next step of sewing and pivoting on the back of the quilt. Why must I forget to take pictures that would help!
 
So...you cut most of the backing and binding away; pin the facing to the front; and sew it on just a little under the basting (this is where the quarter inch is used). This means there is more of the same sewing and  pivoting on the back. Don't worry, it won't take long, you are almost finished, and it is WORTH IT!
 
When you finish with all the sew/pivots, you cut away the batting and facing fabric, clip the corners, and flip it over (just like binding) and whip-stitch it to the back (again, like binding). DONE!

 
Okay, this is what I mean about the deeper sections. The picture above is showing (what I am calling) deeper than the picture below. The video only shows how to work with the hills of the bottom picture. It did not show the plateaus that I worked with in this top picture.
 
Both sections of facing in these two pictures are the same width. The difference is the depth of the valleys. The facing on the back of the hills were just as I hoped but with the plateaus there was barely enough to cover the seam. Again, I would cut the facing a few inches wider.

 
Once you have the facing whip-stitched to the backing you see the awesomeness of the facing, especially on a hexie quilt! It really shows off the edges of this quilt without doing something drastic to make a binding work (such as cutting them off!).
 
 
The edges look so clean and impressive! All of that pivoting pays off big!

 
And now the reveal of the finished quilt!
 
This low-contrast hexie quilt is just so sweet! I think the subtle quilting is was the best way to quilt it. And the facing! What a difference the facing makes! I think I will put a facing on more quilts even those without irregular edges.

 
With the front being low contrast, I decided to go a little bolder with the backing. This print and its colors seemed like the best fabric to match the front. I finished the bolt which was long enough for the back, but not wide enough, so I decided to tone the boldness down with solids. I had the white and yellow fabric left from the last t-shirt quilt I made and thought they worked great. I did briefly consider using a plum for the facing, but I had the yellow AND thought it would really look better. I am so glad that I did not change my mind and pick up some plum.

 
I am just in love with this finish!
 
I delivered it to my friend who, along with her daughter, is also in love with it. Her daughter loved it so much that it has become her quilt. Now a fourth generation is falling in love with quilts. When I was leaving this little girl informed me that she wants to be a "sew maker" when she grows up. Best way to melt a quilter heart!

Wednesday, March 18, 2015

Finishing the Unifinished 4: part 1

Last week I showed you the quilt that I finished for her last May. This week I am staying on my quilty goals by finishing the second to the last quilt top that I am finishing for my friend.
 
This hexie quilt is so very sweet. I really love it! I am very glad that I was able to finish this quilt for her. It feels like an honor to finish this quilt.
 
Does anyone know if this is considered a grandmother's flower garden? I am not sure with the background being two different colors.
 
 
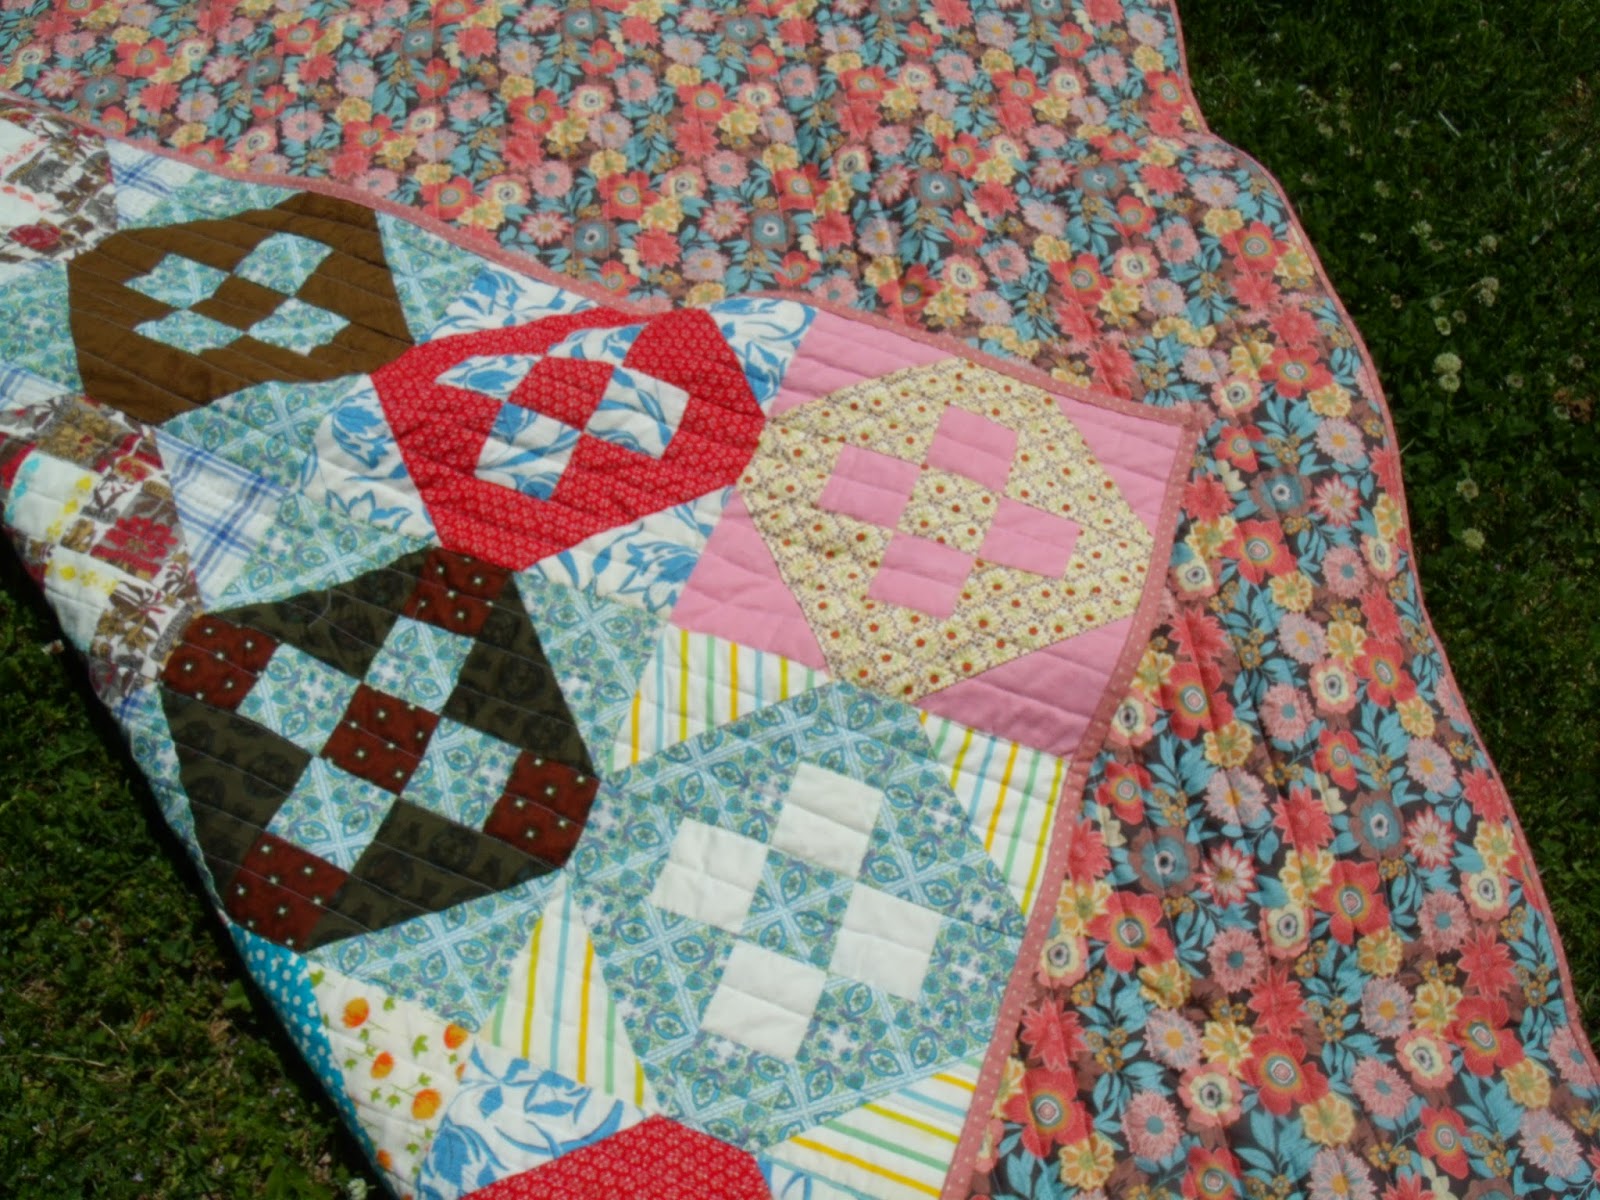
This quilt is hand pieced. My friend tells me that two or three members of her family worked on this quilt: her grandmother and two aunts worked together to make this quilt.

 
This is my favorite block. I did not notice until I was quilting that this block has one different fabric. The color and pattern of the mismatched block match very well. It is hard to notice unless it is pointed out.

 
I thought about a few ways to quilt this wonderful quilt. I looked at ways others had quilted hexie quilts and decided that I would just quilt with straight lines from top to bottom. I think it looks perfect on this quilt.


Thursday, March 12, 2015

Finishing the Unfinished 3

I cannot believe that I never showed this quilt!

 
It is a Roman Coin quilt, and I think it is lovely! It is hand pieced and is one of the five quilts my friend asked me to quilt for her.

 
I finished it May 2014, and she gave it to a family member as a baby quilt for a sweet little girl.
 
 
I looked for a while at Joann's for backing fabric that would match quilt and found this fabric, which I think works perfectly with this quilt.

 
I love that with this quilt there is some mirroring. The center row is completely mirrored and several others are mirrored with some of the coin fabrics but not the background fabric, but not all of the blocks match.

 
The four corners are mirrored and all the same.
 
 
With this quilt going to a little girl, I thought that using more pink would be perfect. I pulled this fabric out of my stash. Sweet little hearts.


I quilted this in a straight line. Soon my friend will wonder if I can quilt in any other way. Ha! It is easy and goes well with a quilt top that has been made for sometime and needs finishing. Also I think that it does not take the spotlight off of the quilt top.

 
So, there you go. A wonderful quilt finished. It is lovely and I have been told that the precious little girl loves it.


Friday, January 10, 2014

2014 Challenges/ Resolutions

This is new for me and maybe a little late in the month to post. I do not make New Year's challenges or resolutions, although I usually have a few plans. This year I have plans, but I want to put them here so that I will feel more of a push to complete them.

So, plans/ challenges/ resolutions for 2014:

Crown Royal quilt-I have been promising a quilt for my husband made out of the bags that he has saved over more than a decade. I have been gathering inspiration on Pinterest. So many possibilities and possibly more than one quilt with what I have. I hope to have it finished by December. That should be plenty of time.

Three "Finishing the Unfinished" quilt tops-as I have stated, I have three more quilt tops to finish for my friend. I plan to have these finished before mid May.
Also, I hope to make a series on my blog using this title. I have in the past finished quilt tops that others have made. I feel that there are many quilt tops that should be finished, and I plan to continue this.

I also currently have two baby quilts to make with varying completion dates.

That is really all the quilty goals I have planned this year. I am sure there will be a lot more quilt than these six, but this is a good start, right?

I have a really big non-quilt goal/plan for this summer-fall. Let's just hope it works out.


Tuesday, January 7, 2014

Quilting Challenge Complete

This was my quilting challenge. The quilt was thick and I was not sure how should or would quilt it.
 
 
What I settled on was a stich-in-the-ditch just along the rows that were sewn together and on the edges to sew a long line down near the center of the blocks.

 
I am very happy to have this quilt finished. After finishing this quilt I have decided that if I am going to machine quilt I will not use such a think batting. I have found that I have trouble with thick battings before and this confirmed what I thought about my use of high lofted batting.

 
I did not trim up the sides because I did not want to alter the quilt as it was made. It is hard to notice in this picture that the top has a slight angle and the bottom has a large angle.

 
I used two different purple fabrics for the back with the last of the green/purple dot fabric. All I have left of this dot fabric is a few scraps.

 
The binding was put on by machine. It is a purple fabric with little fans on it.
The problem that I had mostly with this quilt is the puckers on the back.


Monday, January 6, 2014

Finishing the Unfinished

This is the first finish of the quilt tops that my friend asked me to finish for her.
 
 
I think this is a beautiful nine patch quilt. It uses the same fabrics with the next quilt that I intend to quilt for her.
I used stich-in-the-ditch straight line quilting to quilt it. I thought it worked well with this quilt.

 
 I pulled this burgundy fabric for the binding. The pattern and color matches the quilt and the backing perfectly, and I sewed it on my machine.

 
 I had just enough of this fabric for the back and I think it is wonderful. Those lovely little flowers makes it welcoming.

 
I was very happy to hear that this quilt was given and received with love.
I love to hear how people love receiving quilts and my part in it.

Tuesday, December 31, 2013

Five Finishes in December

I have mentioned three quilts that I have been working on this month, but there are two that I have not mentioned.

I have been so busy making and finishing all of these quilts that I have not had time to take pictures and write posts. One I make so quickly that I did not have time to take pictures. I only took two pictures of the blocks ready to be sewn together.

Four of these five quilts were Christmas presents and needed to be finished quickly. I love giving handmade things for presents.

I will be going into detail about all five finishes in the next few days, but  I wanted to record these finishes before the end of December and the end of 2013.

I am looking forward to 2014 and have hopes for a teaching job, to finally start a family, and the many quilts that are waiting to be made.